In fact, this thing has been completed for a long time, originally intended to complete the phase2 re-issued, the results have been dragged to no time to get, leave the first stage to summarize it. Otherwise, even the slag will be forgotten.
In the second half of last year, because of the smog, Xiaomi, zuk has launched the pm2.5 detector. As a person who loves toss, the intuition is that this stuff is huge. So I studied it and found that the cost of the pm2.5 detection sensor is extremely low. Even if these commercial products use the new sensor called laser measurement, it is also the cheapest type to use, count the screen chip, etc. More than 100% profit.
Thinking about it, I wanted to play one by myself, and then I started this funny attempt.
Of course, although the starting point is to make a pm2.5 detector at the lowest cost, but each component is selected to the end, it is almost the best and most expensive. . .  For the potential of subsequent enhancements, the results have not yet been followed. . . . Hey. . . Anyway, it will not be mass-produced, and it will be wasted once. . .
Components
As the pm2.5 detector, the most important thing is of course the particle sensor. The doorway of this thing is very deep.
In short, the miniaturized particle sensor is mainly divided into two principles:
1. Heat the particles and detect the amount with infrared light
2. Laser is applied to detect from scattered light
The first principle of the particle detection sensor is extremely cheap, can be retailed for more than a dozen dollars, and is widely used for displaying the current air quality function on all major air purifiers (so don't think that it can display the current air quality function value). However, the biggest feature of this type of sensor is that it is impossible to distinguish the particles of PM2.5 and pm10, so only the total amount of particles can be displayed, or the ratio can be roughly calculated by the preset model.
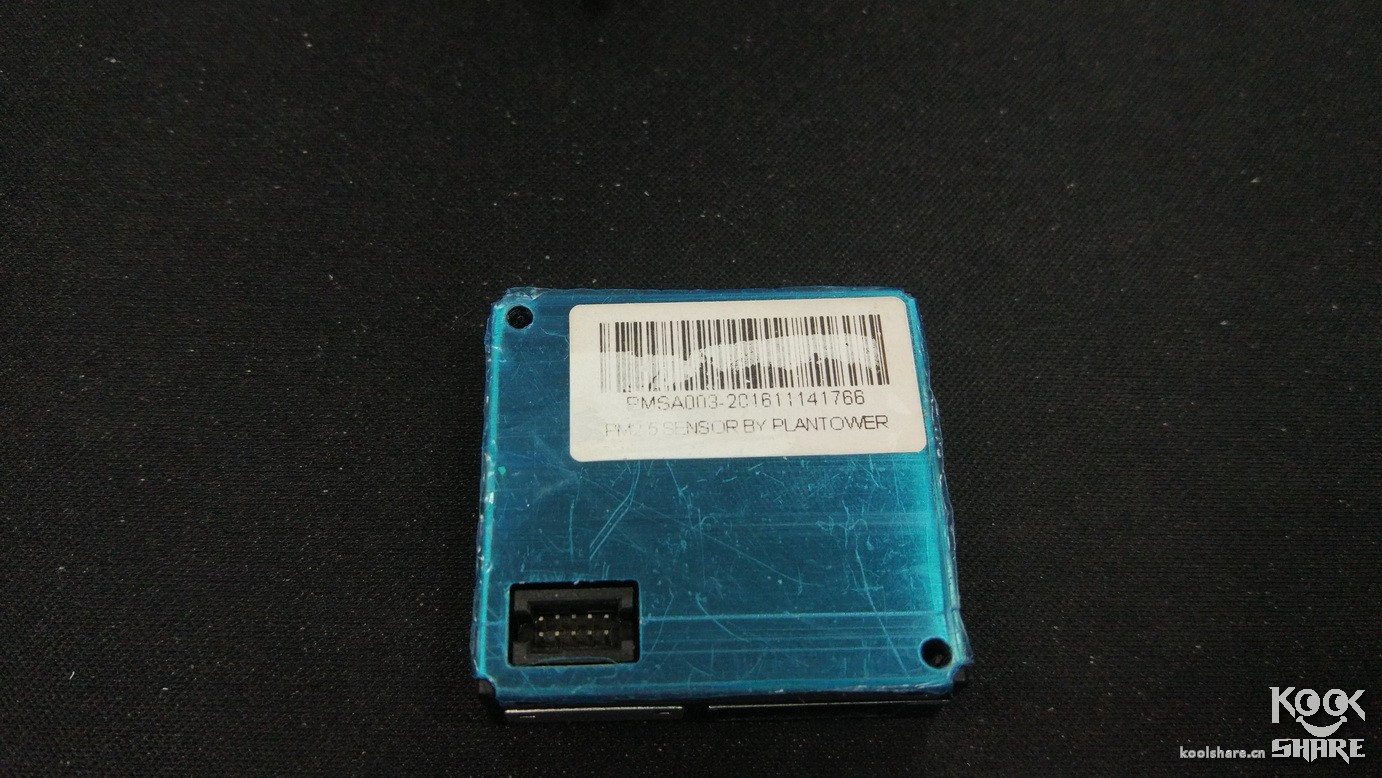
The second type of laser is the sensor that is currently boiled by hundreds of thousands of thousands of tens of thousands of detectors, but the actual retail cost is tens to 100, and these are sold in the market. The cheapest ones are generally used in finished products. The laser sensor can accurately distinguish the number of particles of various sizes, so if the purchased air detector can display pm2.5 pm10 pm 1 分开 separately, it is basically a laser sensor.
Key points: The pm2.5 concentration detected by all air detectors is not comparable to that of the Environmental Protection Agency. Because the indicator unit of PM2.5 is the concentration, the concentration is the density of each particle, and the professional department of environmental protection. The device will measure the mass of the particles in a unit volume! Not the quantity!
Regardless of the sensor of 1 or 2 mentioned above, the number of particles can be measured. The density can only take the assumed value, or the empirical value, and then multiply by the quantity to obtain a "concentration" value of PM2.5. Anyway, these empirical values ​​can only be approximated to real data in some cases, but the error cannot be measured.
Therefore, it is meaningless to compare the data measured by the detector with the data published by the Environmental Protection Agency.
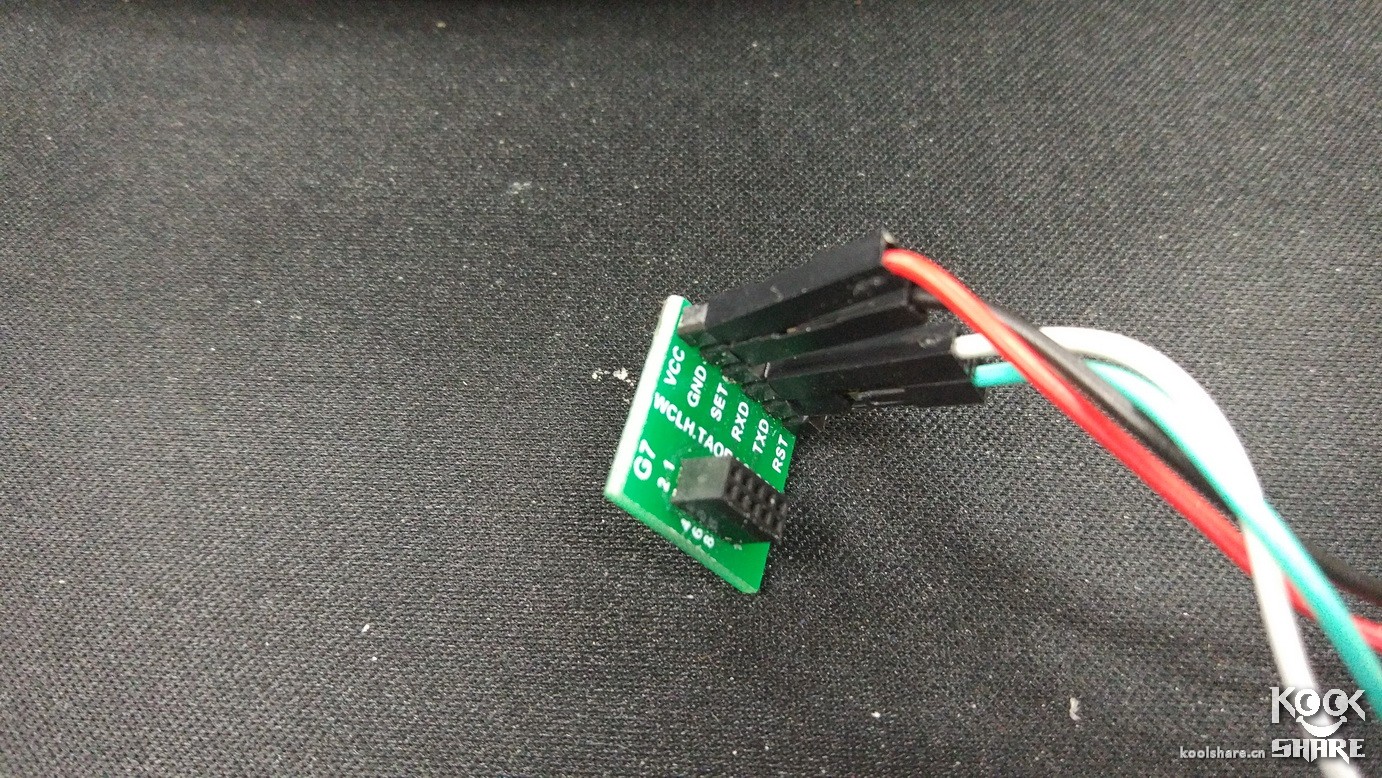
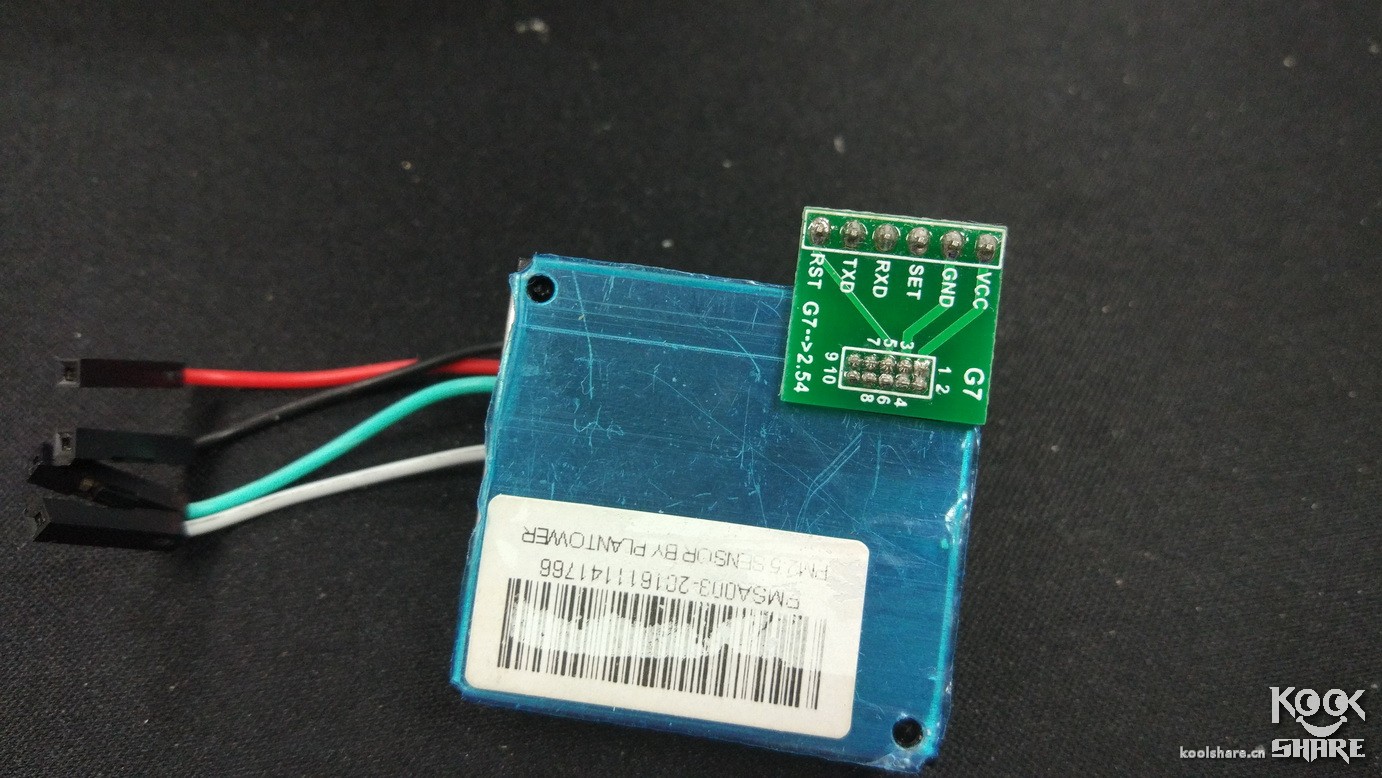
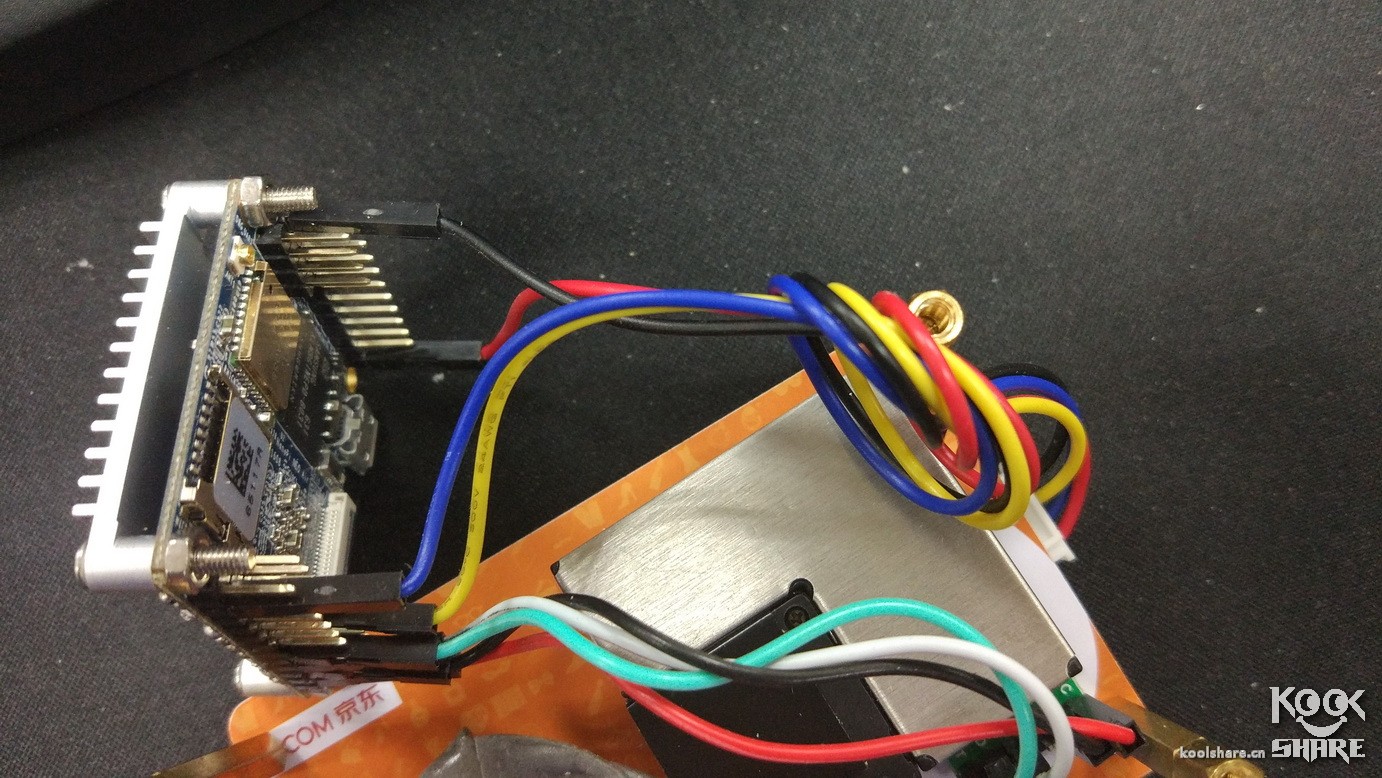
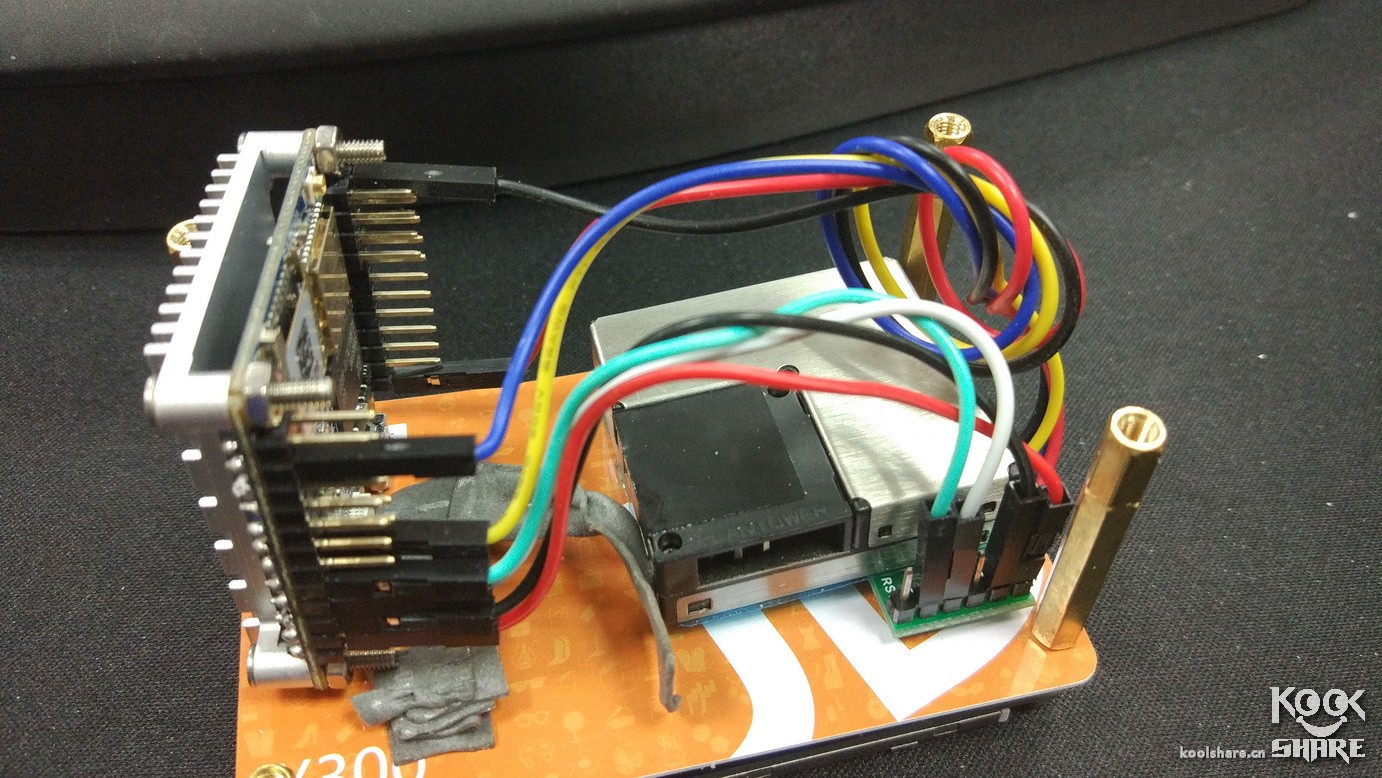
Said so much nonsense, I finally chose the G10 sensor of climbing vine, this is more expensive, the advantage is miniaturization, very small, small, g5, g7, etc.
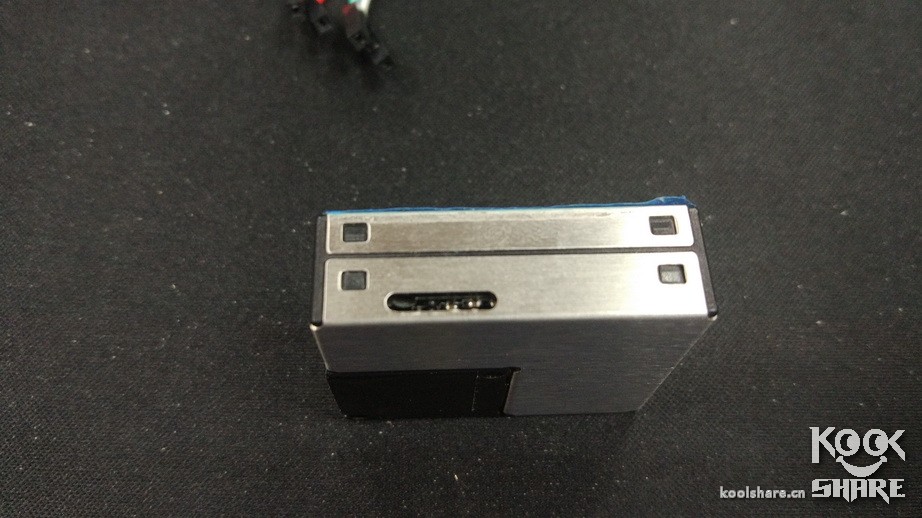
A small fan is responsible for letting air and dust flow in 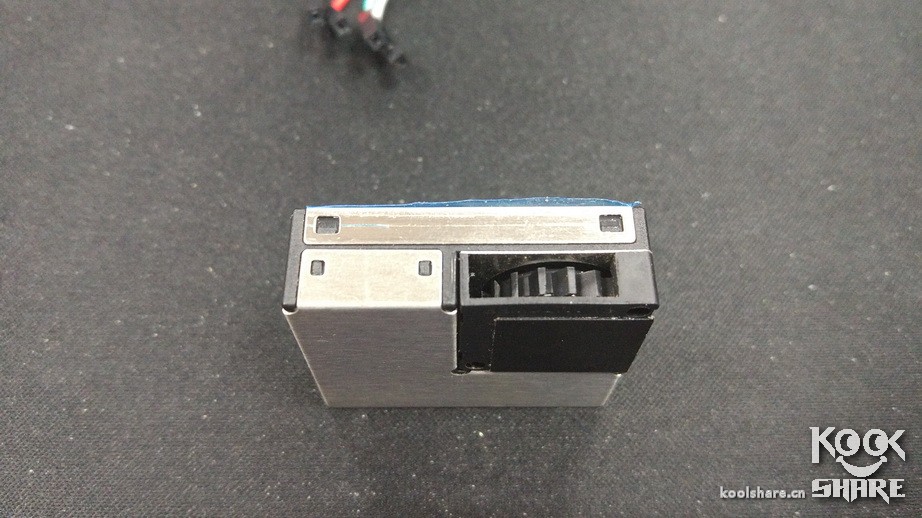
This is the outlet
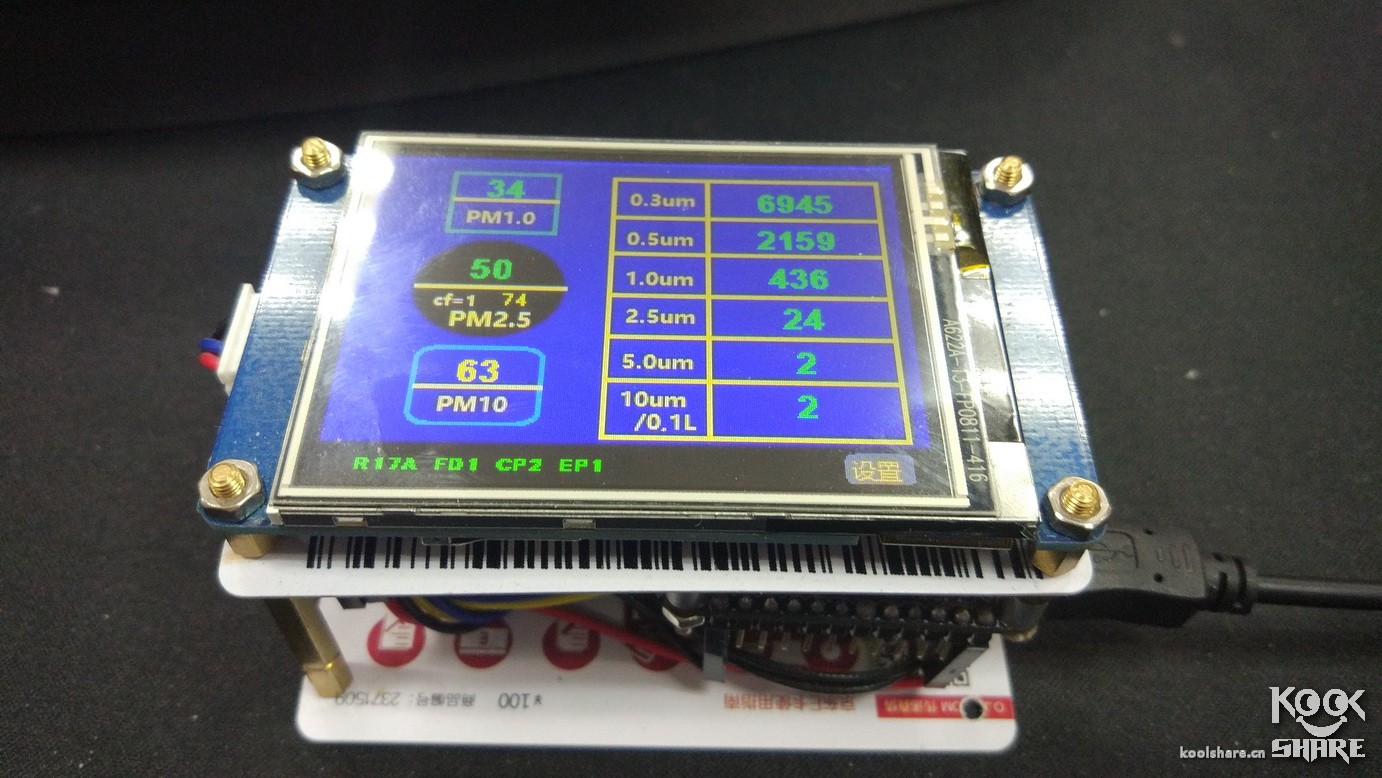
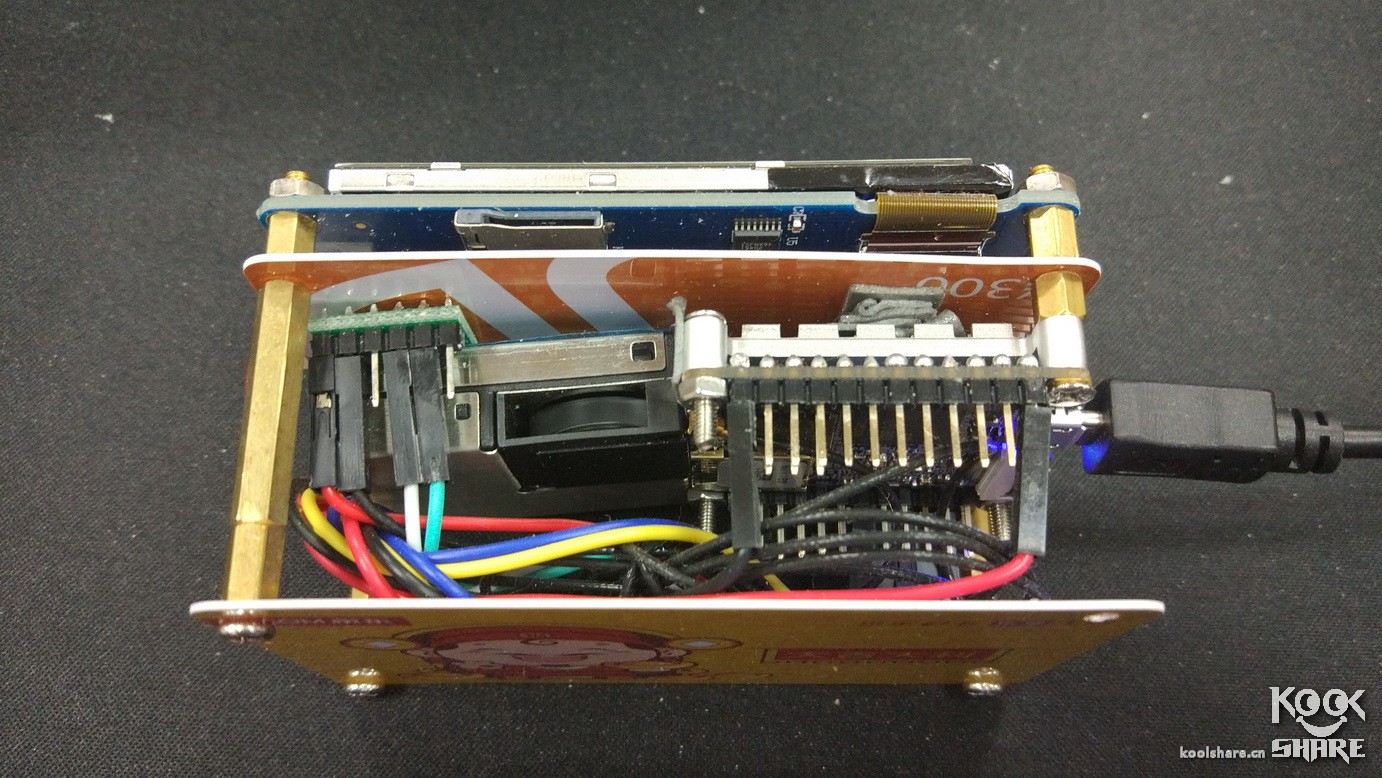
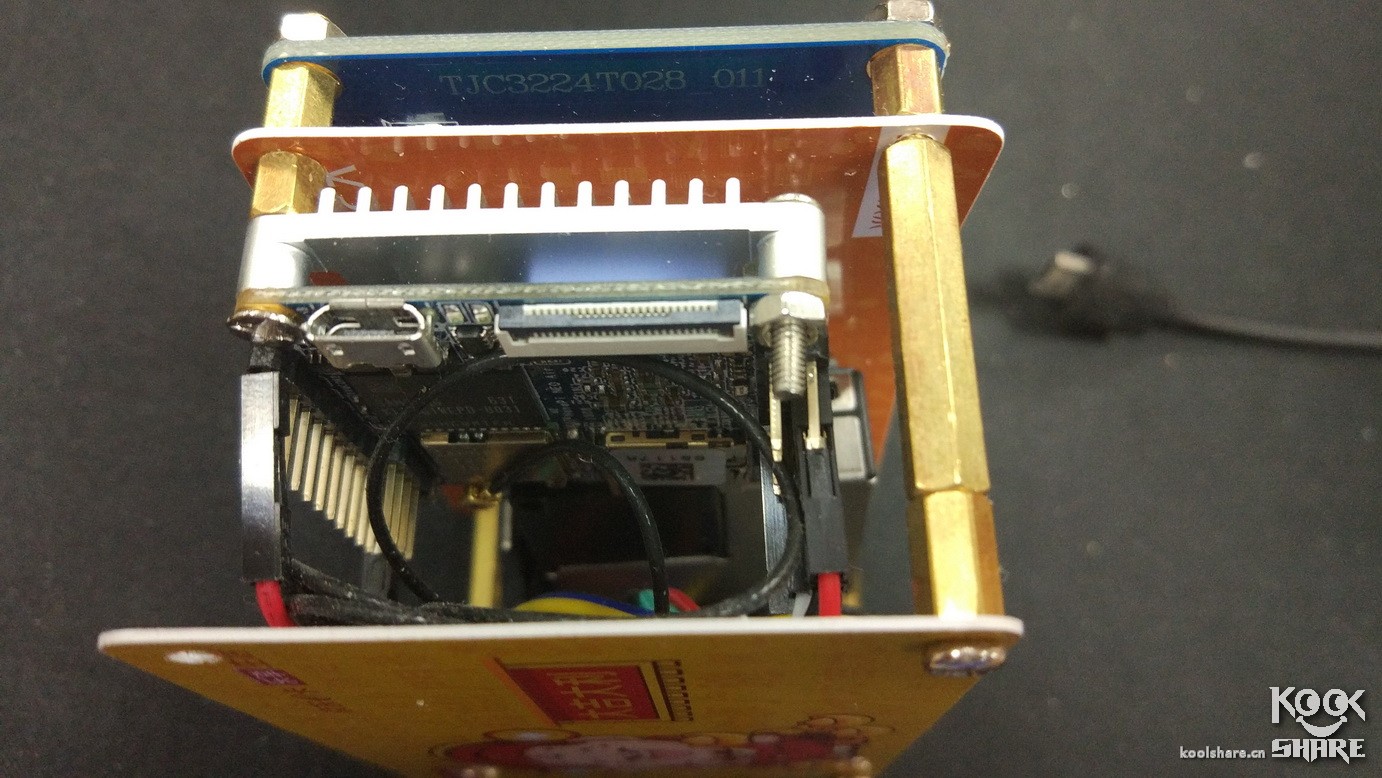
The display screen, in fact, the choice of the display screen. I finally chose the so-called HMI screen, that is, the screen also has a single-chip microcomputer. I can directly store the interface on the screen. The program only uses the serial port to transfer commands and data to change the screen. Display and interface.
The disadvantage is that the interface needs to be re-updated to the screen every time the interface is modified. The advantage is that the program concentrates on acquiring pm2.5 data, and does not need to deal with the graphical interface in real time, and the amount of data transmitted is small.
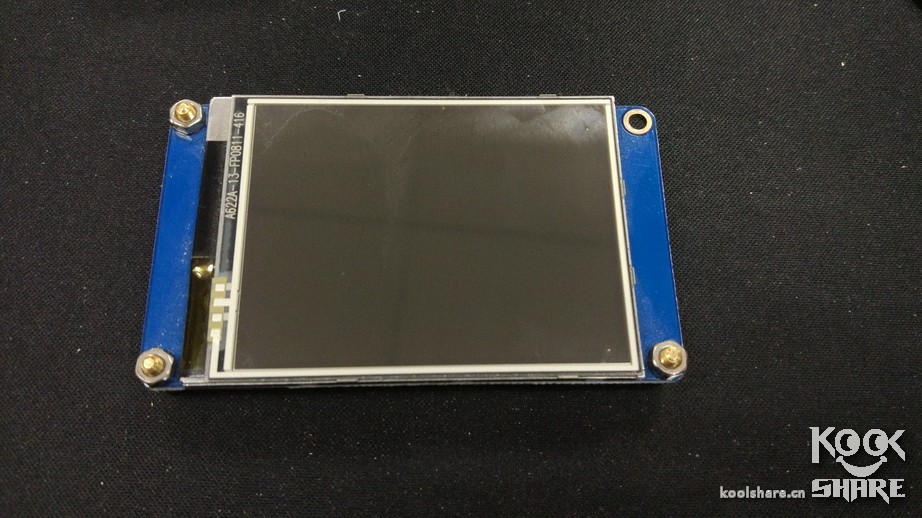
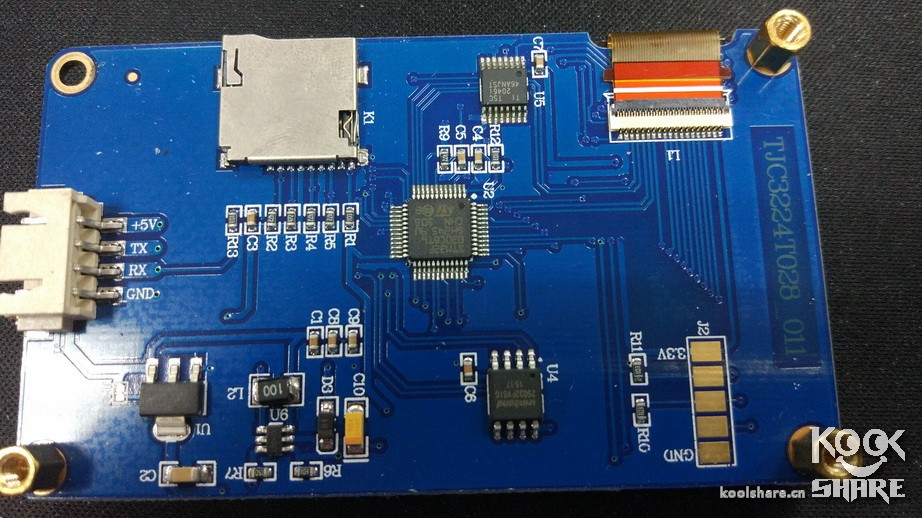
The screen also comes with a board with memory, rom and microcontroller, so my cost is actually going up, I want to be lazy. . .
Then the development board, in fact, the detection of this pm2.5, the sensor has already output the data, plus the screen is hmi, just find a stm32 or even 16 operation under the serial port data on the line.
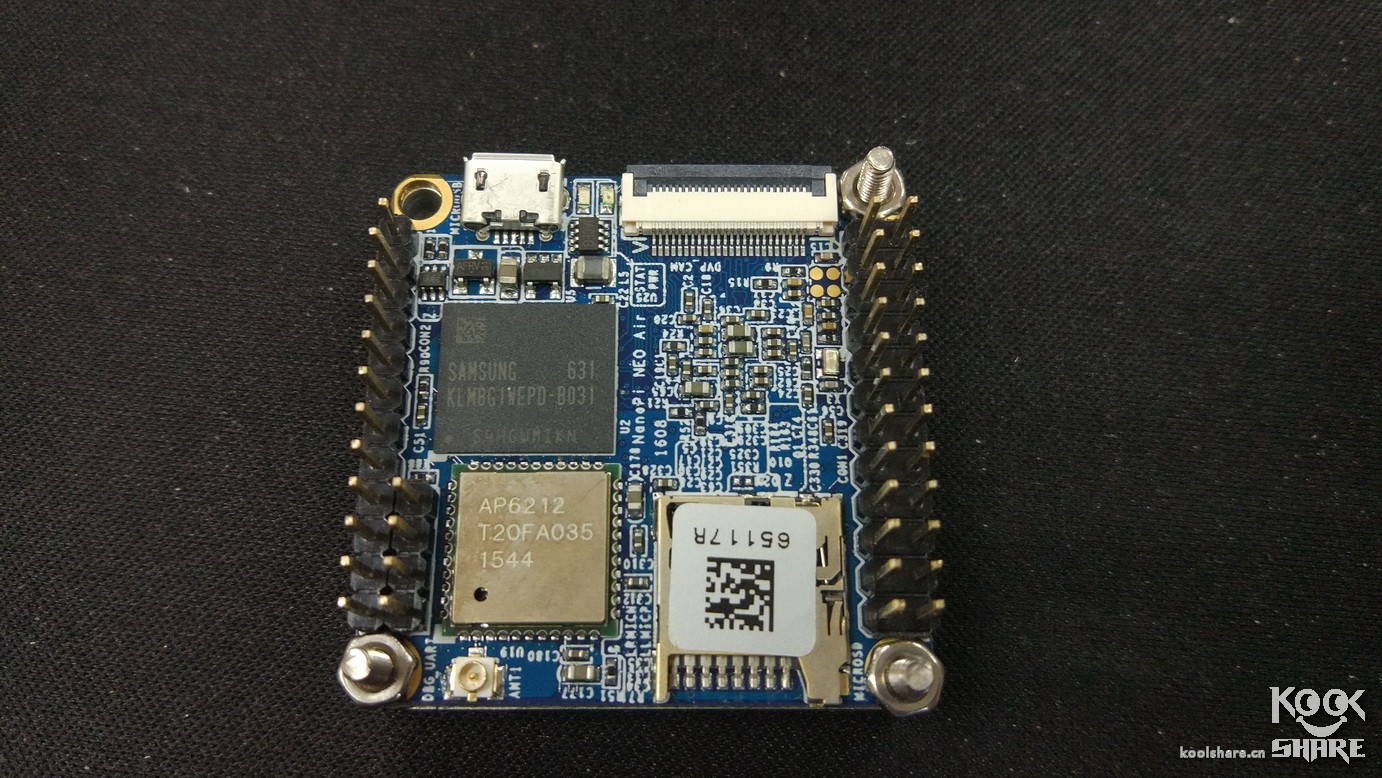
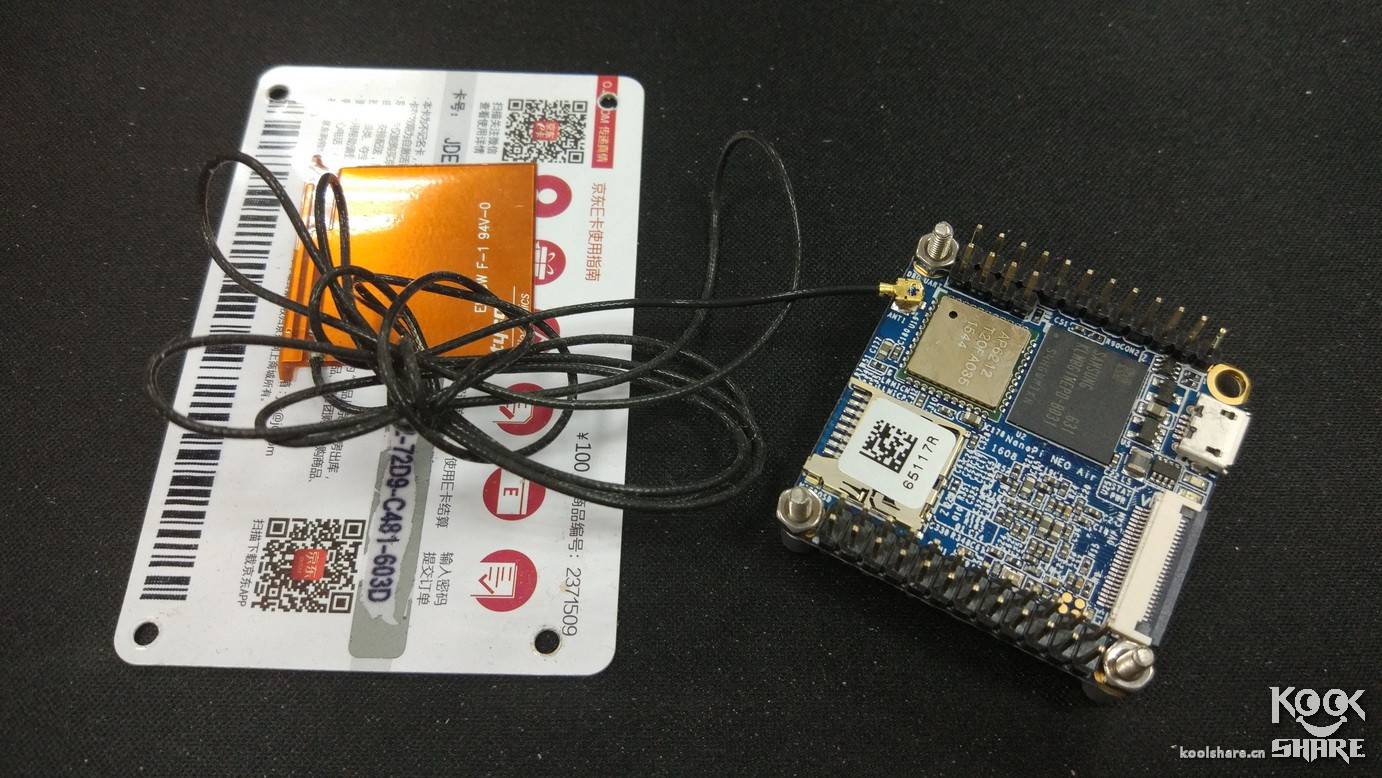
but. . . I have seen the expensive arm development board all the way, or built-in wifi and Bluetooth. . . NanoPi Neo Air, 8G emmc, 512M memory... After half a year, I found that this board was designed by my group of friends in the car computer group. . Sure enough, the people who are tossing are gathered together. . . .
Very small 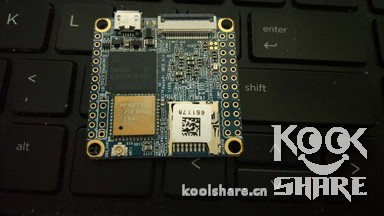
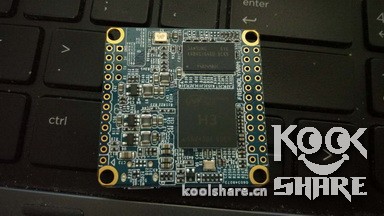
Very powerful, running the ubuntu core system.
After developing the basic things, let's start writing the program debugging. Here, the history of 5000 words of blood and tears is omitted.
Finally, the basic air quality and display code were written in c, and also written in Golang. I later planned to use Golang to reconfigure the program, support wifi and Bluetooth connection, and mobile phone remote function, but this dragged for a long time. Did not do it. . .
Assembly
Since it is installed here, it should be installed. . .
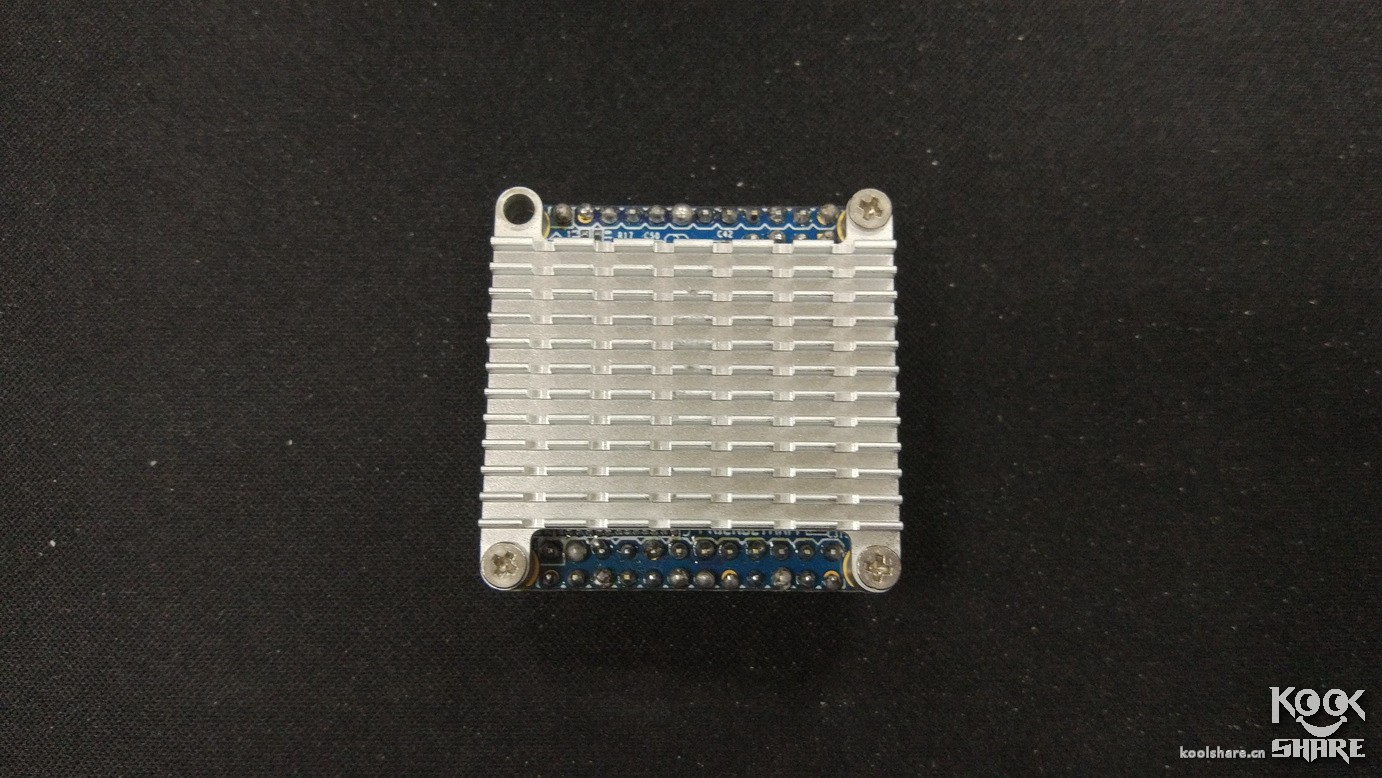
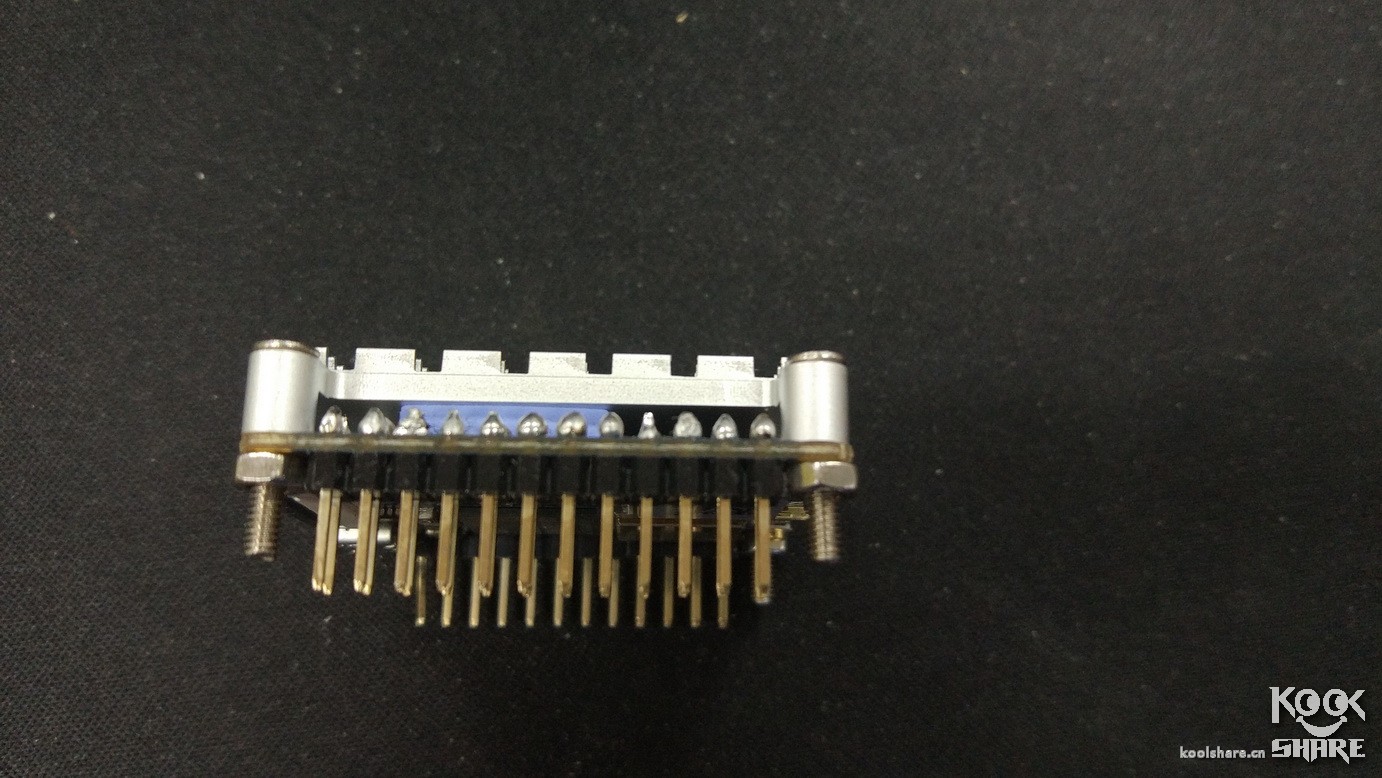
The pin on the development board was originally made of wood, and my welding level was very poor. I finally made it. . .
Why would you choose this development board instead of the Raspberry Pi? 3 reasons:
1. Raspberry Pi 3 has 512m ram, but does not have emmc, insert a tf card and don't bother
2. The Raspberry Pi's Bluetooth occupies one serial port, causing the serial port programming to change its name.
3. The size of the Raspberry Pi 3 is too big. When doing this, pi zero W has not been released yet. . .
Compare the size of the Raspberry Pi 3 and this:
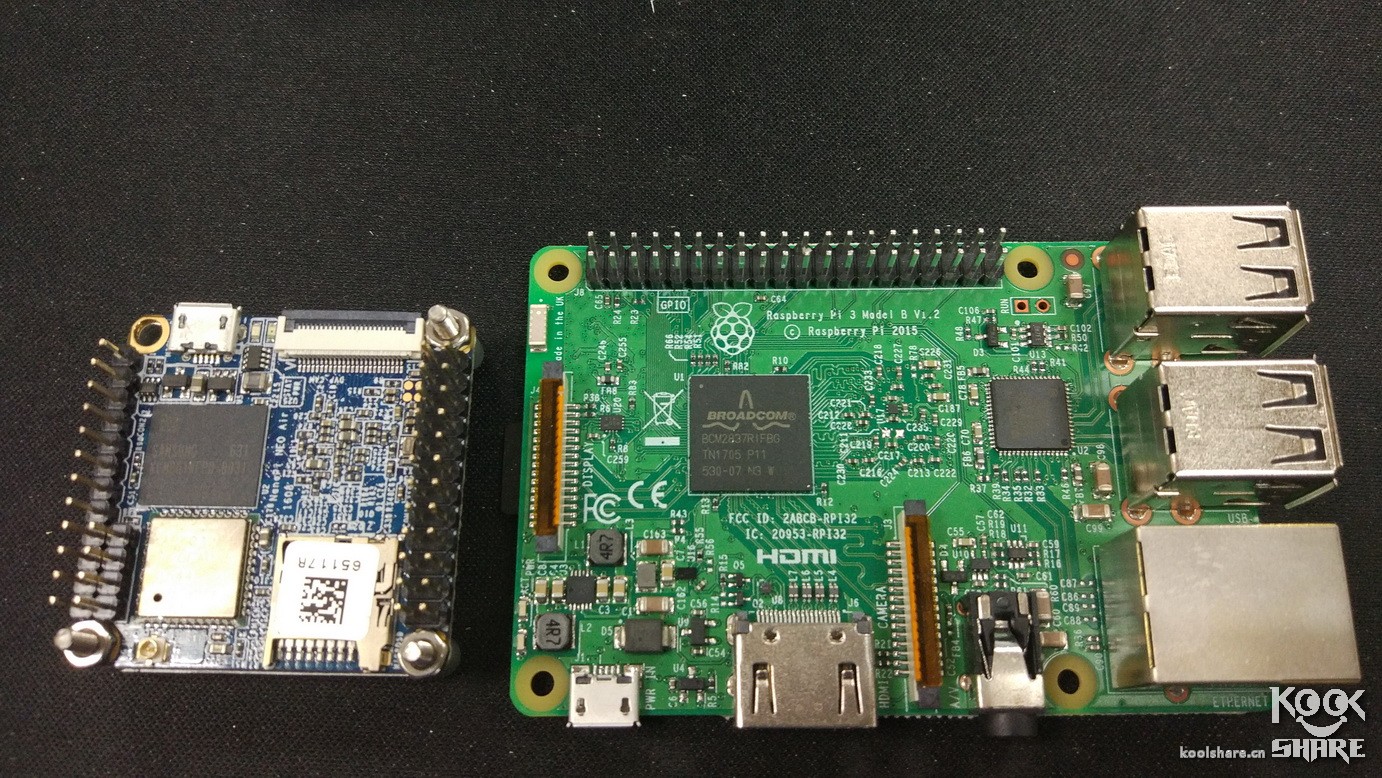
So, the choice is obvious.
Because the laser sensor is too small, the interface is non-standard, the pin buckle is very small, and I can't connect it. I used a network interface on the Internet, so it is okay.
Shelf, um. . . Without a 3d printer, I was not happy to order an acrylic sheet. I have a bunch of this on the table. 

Take the materials locally, pick up the sleeves and dry them.
Just drill a few holes with a screwdriver and then put it up first.
The development board has built-in wifi and Bluetooth, but there is no built-in ceramic antenna, so use a sticky antenna on the board.

Various "handmade" assemblies have begun. . . .
At last. . . It was made like this. . .


The interface is drawn by the "painting" that comes with windows. . The interface for switching advanced functions such as wifi and Bluetooth has not been drawn yet. . .
At present, you need to plug in a usb power supply to use it. It has been tried indoors and in the car, and the effect is not bad.
There is a reason for not installing a lithium battery, because the sensor fan needs 5v power supply, the lithium battery is only 3.7v, but also the booster module, it is better to connect a mobile power supply. . .
It's that simple. . .
I will write the interactive function of the mobile phone one day, and then send it again. . .
Basic Baby High Chair,Multifunction Baby Chair,Baby Sitting Chair,Unique Baby High Chair
Zhejiang Lamon Technology Inc. , https://www.babychaires.com